Español
  Français
  Deutsch
  Italiano
  Português
  Türkçe


How to Get QR Code From Carrier to Activate Your eSIM

Understanding eSIM activation is crucial for users wanting to take the next step in mobile technology evolution.
An eSIM can be activated digitally, a convenience that has prompted many users to make the switch to eSIM.
You might already know that eSIM activation is sometimes carried out through a QR Code.
But, how can you get QR code from your carrier to activate your eSIM?
Here’s your one-stop guide on getting your eSIM QR code from your carrier and activating it on your phone.
What You Need To Know For eSIM Activation
Before leaping into the activation process, it’s essential to understand the prerequisites and what to expect:
● Device Compatibility: Ensure your smartphone or device supports eSIM technology. Most modern flagship smartphones support eSIM, though support is now common in many mid-range devices as well. It’s always best to check your device’s specifications.
● Carrier Support: Verify that your mobile carrier offers eSIM services, as not all carriers currently support eSIMs. However, Global carriers now mandate eSIM support, as it is getting more universal.
● Backup: Always backup your device before making significant changes such as activating an eSIM, to avoid data loss. Tip for iPhone users: Enable Auto eSIM Backup (Settings > Apple ID/Google Account > eSIM Cloud).
● Profile and Network Compatibility: Ensure your eSIM plan includes 5G access if your device supports it. Some older, cheaper eSIM profiles may be configured for 4G/LTE only, which can throttle your speeds on a 5G-capable device. Also, if you require 5G Standalone (5G SA) for the best latency and coverage, confirm your carrier’s eSIM supports it.
With these prerequisites checked off, you’re set to embark on the journey of activating your eSIM.
Read More: Can’t Activate My eSIM: 4 Common Mistakes and How to Avoid Them
How to Obtain Your QR Code
You can obtain your QR Code following the simple steps below:
Step 1- Download Your Carrier’s App
Before you start, download the official app of your mobile carrier. This is now the most secure and feature-rich hub for managing your account, purchasing plans, and accessing your eSIM. The entire process often happens seamlessly within the app without ever needing to see a QR code.
Step 2- Select Your eSIM Provider
The first step is to select your eSIM provider. This is a critical decision and will influence your overall experience with eSIM technology. Choose a carrier that offers plans that best suit your needs.
Step 3- Purchase Your eSIM
Once you have selected your preferred eSIM provider, choose the eSIM plan that suits your needs. Following that, as soon as you make the purchase, your carrier will then automatically generate a QR code for your eSIM activation.
Carrier apps auto-generate QR codes and offer:
● One-tap activation (bypassing QR scan)
● Profile pre-download for travel eSIMs
Step 4- Email Delivery
Emails are still used but there are new secure alternatives to get your QR code:
● Carrier app inbox (encrypted)
● iMessage/Business Chat for Apple users
● WhatsApp delivery (common in Asia/Latin America)
Note: Static QR codes (non-expiring) are now flagged as security risks. Always use dynamic codes from your carrier app.
Security Note: Be extremely cautious with QR codes received via unsecured email, especially from third-party resellers. Prefer delivery through your carrier’s official, authenticated app whenever possible, as it’s more secure against phishing.
By following these steps, you can easily obtain your QR code for eSIM activation, setting you up for a smoother transition to your new digital SIM card.
Activating Your eSIM with the QR Code

Now that you have your QR code, follow these steps to activate your eSIM:
Step 1- Set Up Your Device
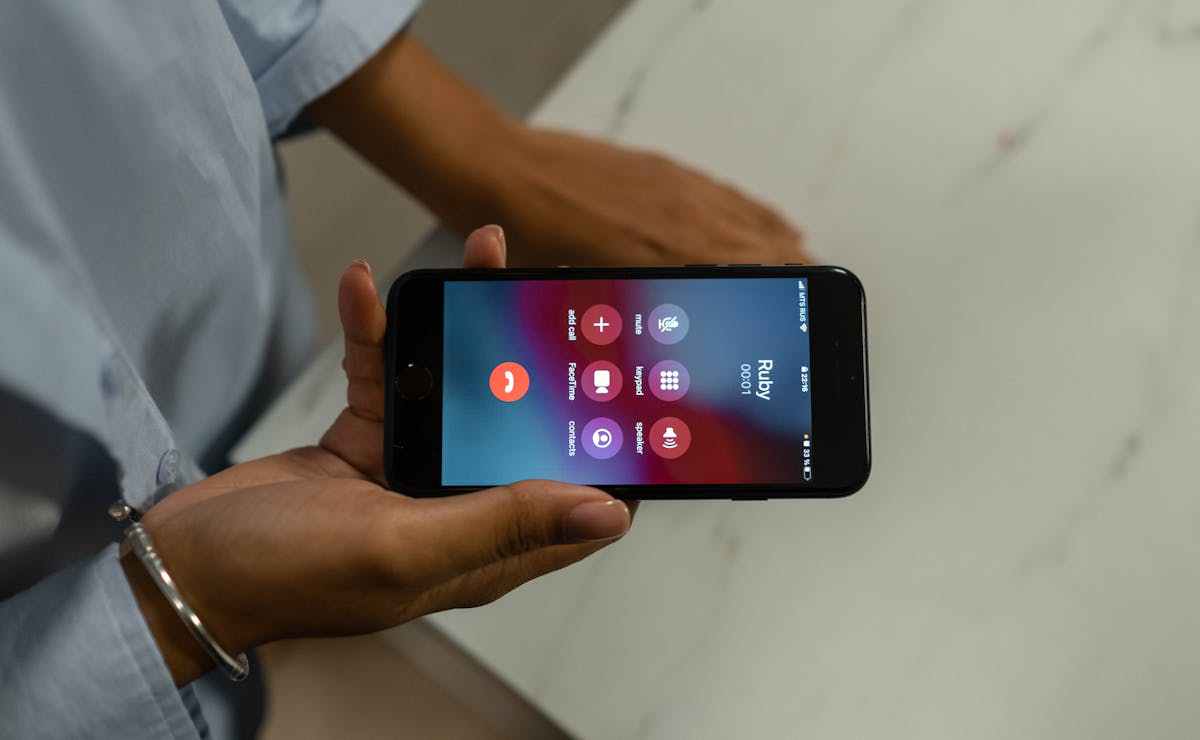
Head over to “Settings” on your device, and look for the “Set Up Cellular”” (on iPhone) or “Connections” (on Android) options. There, you can go to you’ll find an option to “Add Data Plan” or “Add eSIM.” If you’re using an Android smartphone, you will need to go to SIM Manager from Connections to add your eSIM.
Step 2- Scan the QR Code
After you have successfully set up your smartphone for eSIM activation, your device will then prompt you to scan the QR code provided by your carrier. Point your device’s camera at the QR code and hold it steady until the device recognizes it.
Step 3- Follow On-Screen Instructions
After scanning, your device will guide you through the remaining steps. It may suggest labels like ‘Primary,’ ‘Work,’ or ‘Travel‘ based on the carrier’s metadata.
What to Do After Activation
After successfully activating your eSIM by scanning the provided QR code, there are several steps you should take to ensure that everything is functioning properly:
1. Verify Activation
Once the installation is complete, you should see your new cellular plan listed alongside (or replacing) your previous SIM card information. iOS 18/Android 15 now show real-time activation status (Settings > Cellular > eSIM)
2. Test Your Connection
Begin by testing your phone’s basic functions. Make a call, send a text message, and use cellular data to browse the internet.
Use the new “Network Health” feature (iOS/Android) which auto-detects latency issues and VoNR call readiness. You can also use the carrier app to test the speed of the internet.
3. Data Roaming
For international travelers, check your data roaming settings. If you’re on a specific travel eSIM plan, make sure data roaming is enabled– otherwise, it should generally be turned off to prevent unexpected charges.
4. Download Carrier Apps
Some carriers offer additional management and services through dedicated apps. Download any recommended applications from your carrier—these can be useful tools for monitoring data usage, topping up plans, or contacting customer support.
5. Configure Automated Switching (if supported):
Many devices and carriers now support rules for auto-switching eSIMs based on location or usage.
iPhone:
Go to Settings > Cellular > Cellular Data > Automatic Switching.
Android:
Go to Settings > Connections > SIM manager > Auto-Data-Switching.
6. Contact Carrier with Issues
If you encounter any issues or irregularities post-activation, don’t hesitate to reach out to your eSIM provider’s customer support for help. Carrier chatbots resolve 80% of eSIM issues in a few minutes.
Read More: eSIM Not Working? 8 Ways to Fix it!
By following these steps, you can seamlessly integrate your eSIM into your mobile experience and be confident that you’re ready to make the most of your device’s new capabilities.
Why carrier apps are now essential for eSIM users?

Real-Time Profile Management
Modern carrier apps now let you switch between eSIMs with a single tap: no more digging through Settings menus. The AI Data Optimizer goes further by automatically selecting the optimal eSIM for each task. For example, it might prioritize your “Work” eSIM for Zoom calls while routing navigation through a “Travel” eSIM with better local coverage.
Security Features
Protection starts with eSIM Lock, which requires Face ID or fingerprint authentication before any profile changes: a critical defense against SIM swap attacks. The system also monitors for unusual behavior, sending instant alerts if an eSIM drains battery abnormally or connects to suspicious cell towers.
Travel Tools
For international users, carrier apps have evolved into indispensable companions. The Auto-Top-Up feature predicts when you’ll exhaust data based on usage patterns and purchases top-ups before you hit limits.
Advanced Diagnostics
The 6G Signal Map revolutionizes coverage troubleshooting by displaying real-time millimeter wave hotspots and dead zones as you move. Meanwhile, the eSIM Health Scan runs automated diagnostics, resolving issues like profile corruption or network congestion without customer support.
Get Unparalleled Flexibility

Switching to an eSIM not only simplifies your mobile experience, but also offers significant ease if you’re one to travel frequently or juggle multiple numbers.
By following the steps outlined above, you can easily obtain your QR code from your carrier and activate your eSIM.
Interested in getting unparalleled flexibility with a suitable eSIM plan? Check out the best eSIM offers on SimOptions– the 1st marketplace for prepaid eSIM plans in over 200+ destinations.
FAQs
Q: Can I have multiple eSIMs on my smartphone?
A: Yes! You can normally install between 8 to 20 eSIMs on your smartphone and use two eSIM plans simultaneously.
Q: What to do if I accidentally delete my eSIM profile?
A: Contact your carrier to obtain a new eSIM profile.
Q: How do I switch between SIM cards on a Dual-SIM smartphone?
A: For iPhone:
● Go to the Settings
● Tap on “Cellular” or “Mobile Data” depending on your region.
● Tap on “Cellular Data” to select which eSIM you want to use
For Android Devices:
● Go to Settings
● Tap on Network & Internet or Connections and then look for “Network & Internet” or “Connections”
● Select SIM Manager, where you can easily switch between your preferred eSIMs for connectivity.
Q: Is my personal data safe with an eSIM and carrier app?
A: Yes, in fact, eSIMs are more secure. The process of remotely provisioning a profile is cryptographically secured. Furthermore, features like ‘eSIM Lock‘ within carrier apps add a biometric layer of protection against SIM swap fraud, a common threat with physical SIMs.