Español
  Français
  Deutsch
  Italiano
  Português
  Türkçe


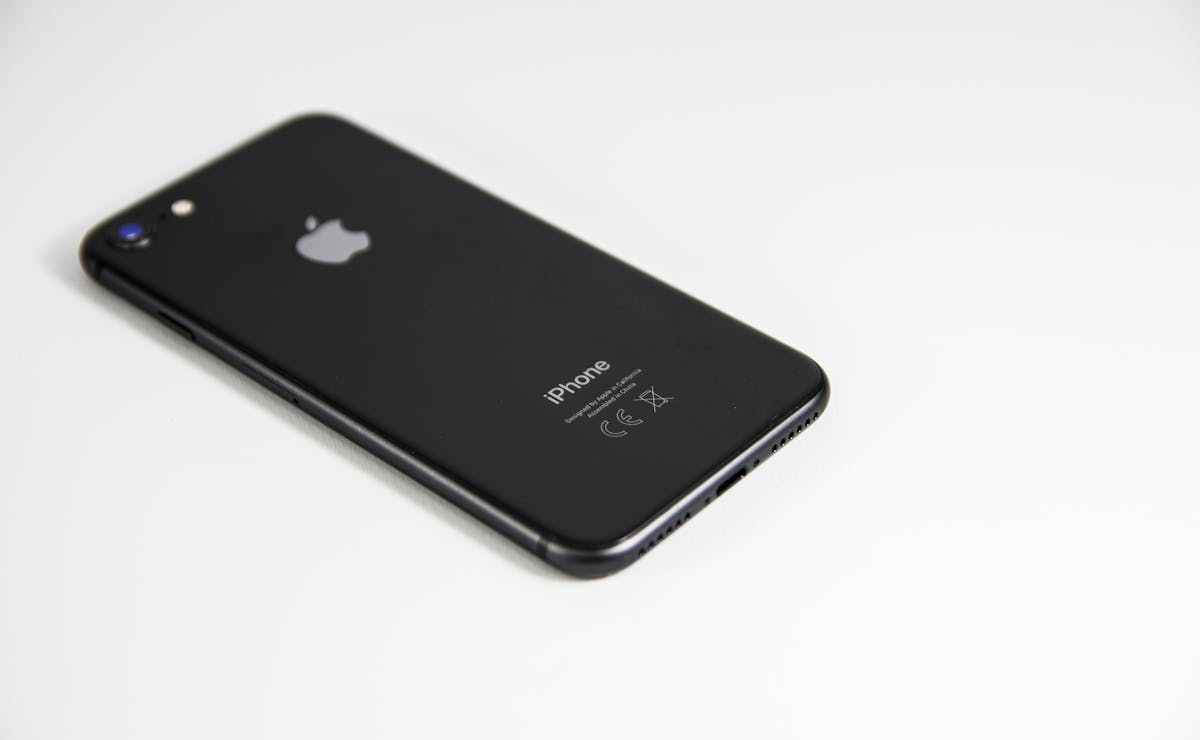
How to Reset Your iPhone Without Losing Your eSIMs

Phones are our lifelines in this digital age, so when they start glitching, it’s certainly an inconvenience.
One way to troubleshoot is to reset. But, if you’re an iPhone user with dual eSIM functionality, you might dread the prospect of losing your eSIM profiles in the process.
This is a comprehensive guide on how to reset your iPhone without losing your eSIMs.
You Might Like: 10 Reasons You Should Convert Your Physical SIM to eSIM in 2024
Why You Might Need to Reset Your iPhone
Here are 3 common reasons why you might consider resetting your iPhone:
➡️Performance Issues: Nowadays apps rarely crash, however, iOS 18’s on-device AI generates temporary files that slow down older iPhones (especially 14 and earlier). A reset can clear out temporary files and potentially sort out any performance issues in your device.
➡️Software Glitches: Dealing with strange bugs or persistent issues? Resetting can often iron out these software glitches to ensure a seamless experience.
➡️Troubleshooting: Your iPhone’s tech support might recommend a reset to diagnose and resolve specific problems. The reset is mandatory after: Transferring eSIMs between 3+ devices monthly and failed 6G network handoffs.
Read More: eSIM Not Working? 8 Ways to Fix it!
What You Need to Do Before Resetting Your iPhone

Before hitting that reset button, take these 3 crucial actions to safeguard your data and ensure a hassle-free process:
1. Backup All Data
This is essential to perform before you reset your iPhone. iCloud backups store your apps, photos, contacts, and more. Go to Settings > Apple ID > iCloud > iCloud Backup and ensure “Back Up Now” is enabled. Nowadays, backs up eSIM profiles automatically (enable in Settings > Apple ID > iCloud > eSIM Backup).
2. Disable Find My iPhone
This prevents anyone from tracking or wiping your iPhone after the reset. Go to Settings > Apple ID > Find My > Find My iPhone and toggle it off (requires biometric authentication: Face ID + passcode).
3. Have Important Login Details at Hand
After a reset, you’ll need your Apple ID and password to log back in and regain access to your phone.
Step-by-Step Guide to Resetting Your iPhone Without Losing eSIMs
Follow these steps carefully to successfully rest your iPhone without losing your eSIMs:
Step 1: Backup Your Data
First and foremost, safeguard your data by backing it up. Use iCloud for a wireless backup. This ensures all your photos, contacts, and app data are secure.
➡️iCloud Backup: Go to Settings > [Your Name] > iCloud > iCloud Backup > Back Up Now.
➡️Now automatically backs up eSIMs if enabled (Settings > Apple ID > iCloud > Show All > eSIM Backup)
➡️ Back Up Locally with Apple Devices App: Connect your phone > Open Apple Devices app > Select your iPhone > Click “Back Up Now” > Check “Encrypt Backup”
Step 2: Note Down Your eSIM Information
Some carriers use their app to “Freeze” eSIM before reset, while others allow you to download a backup QR, so there are no more manual notes needed. Besides, iOS 18 auto-saves eSIM details to iCloud Keychain.
Make sure that the eSIMs can be re-installed multiple times on the same device. You might need to contact your local provider and ask for more details.
Step 3: Reset Your iPhone
➡️Go to Settings > General > Transfer or Reset
➡️ Choose:
● “Reset Network Settings” (keeps eSIMs) – For minor issues
● “Erase All with eSIM Retention” – Full factory reset
Note: Biometric Verification Required
● Face ID + Passcode + Security Key (for Apple ID+)
The iPhone will take a few minutes to reset, after which it will restart. Once completed, your iPhone will start up with all system settings reset to their defaults, but your data and eSIMs will remain unaffected.
Step 4: Reconfigure Your Settings
After the reset, you’ll need to reconfigure your iPhone settings, such as Wi-Fi passwords, wallpaper, and preferences. Since “Reset All Settings” doesn’t affect data, your apps and their data should remain intact.
Step 5: Check Your eSIMs
Finally, go to Settings > Cellular to verify that your eSIMs are active and functioning as expected. eSIMs normally reactivate in <2 minutes via Apple ID.
Step 6: Activate Your eSIMs
If your eSIMs do not automatically activate, contact your carrier for activation steps or to confirm if you need to re-download eSIM profiles
Read More: How Many eSIMs Can You Have in Your iPhone?
Restoring Your iPhone After Reset
If your iPhone does not have your data stored after a reset, here are 2 ways to restore it using the backup you made earlier:
➡️Restore from iCloud Backup: This is the quickest and easiest option if you have a recent backup. Go through the on-screen prompts during initial setup and choose “Restore from iCloud Backup.” Select the most relevant backup and wait for it to download and restore your data.
➡️Restore from Local Backup: If you have made a local backup (using Apple Devices App), connect your iPhone to your computer via USB-C/Wi-Fi 6E. Select your iPhone, choose “Restore Backup,” and choose:
● Full Encrypted Backup (includes eSIMs)
● Data-Only Option (for privacy-conscious users)
Read More: How To Transfer an eSIM on iOS & Android
Wrapping Up
Resetting your iPhone doesn’t have to mean losing your eSIMs. By following the correct steps outlined above, you can ensure that your eSIM profiles remain intact.
Remember to always back up your data before initiating a reset, and check with your carrier for any eSIM-specific instructions.
Interested in exploring the best value eSIM deals available at the moment? Check out SimOptions, the 1st marketplace for prepaid eSIM in over 200+ countries worldwide.
FAQs
Q1: Will I lose my contacts and photos if I reset my iPhone?
No, you won’t lose anything if you’ve done a backup before the reset. Your data – including photos, contacts, eSIM profiles, and more – will be stored safely in iCloud or your Mac.
Q2: Do I have to back up both my eSIMs?
Your backup will include the eSIM information. However, you should note down which eSIM is labeled as what (like ‘Work’ or ‘Personal’) for easy identification during the restore.
Q3: What if I don’t see my eSIMs after restoring my iPhone?
To resolve this, go to Settings > General > About and check for an eSIM profile or carrier update. If available, download the update.